|
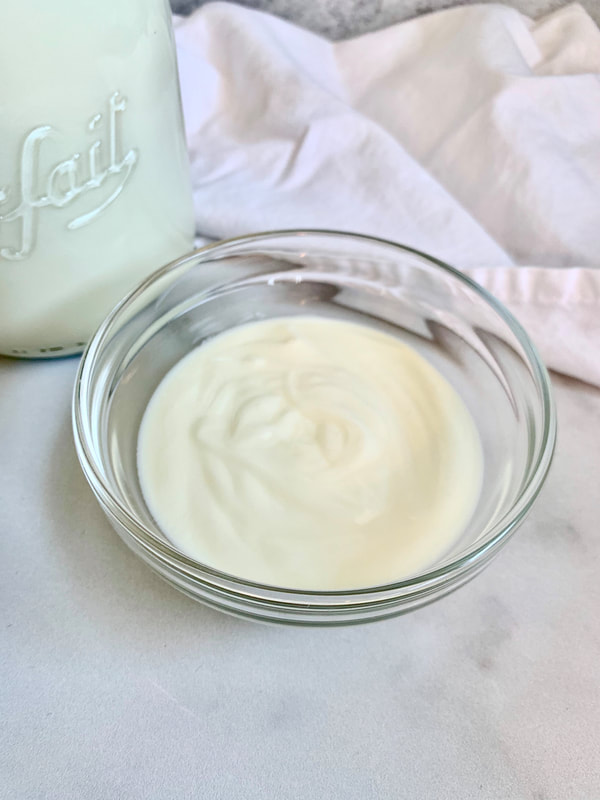
Earlier this year, Sound Dietitians presented a series of Instant Pot / Slow cooker classes. I’m going to be honest, before planning these classes I only used my instant pot for a few things: Bone Broth/Stock, Meats, Stews, and occasionally rice. In planning for these classes, I dug into every possible way to use this multi-talented kitchen device. I was most curious about the elusive “yogurt” button. After lots of internet research and a couple of trial runs, the yogurt function is now my favorite feature! Below I have outlined exactly what you need to do, step-by-step, to make your own yogurt in an instant pot. To make homemade yogurt: STEP 1: *Sanitize your pot* I’ve tried a couple of ways and the best way is to fill your inner pot (the lining that is a stainless steel pot) with water and put it directly on the stove like you would any other pot. Bring the water to a boil and then allow to boil for 10 minutes. Once the time is up, dump the water out, dry, place back into the instant pot base, and you are ready to start! STEP 2: Pour 1/2 gallon of whole milk into your instant pot. (Note* make sure your milk is homogenized. The first couple times I made it without homogenized milk and although it still tasted good, it wasn’t the classically creamy look that you expect from yogurt.) Lock the lid on and turn the valve to sealing. Typically the sealing feature is for when you are pressure cooking but I do it anyway, it won’t affect your end product either way. Press the yogurt button a couple of times until the screen of your instant pot reads BOIL. The pot will automatically get to work and you can go about your routine. Perhaps throw in a load of laundry or empty the dishwasher. The pot will beep many times to signal that the milk is to temperature. Take a thermometer and make sure the milk is at 180 degrees F. STEP 3: For the next step you can either let the pot cool on the counter or if you’re impatient (like me), fill a large bowl with ice water, and rest the inner pot in the ice to cool it down quickly. When the thermometer reads between 110 and 115, you are ready for the next step. STEP 4: Remove the film that has accumulated on the top of the yogurt. Whisk in 2 Tbsp plain whole milk yogurt with live active cultures. Make sure the cultures have been added after the pasteurization process otherwise the heat from the pasteurization will have killed all those beneficial bacteria. And without those live active cultures, your yogurt won’t be a success. It’s also of the utmost importance that there is no sweetener added to this yogurt. Any added sugar, syrup, sweetener, flavor, or fruit will inhibit your yogurt success as well. STEP 5: Once your yogurt is fully incorporated into your warm milk, add the inner pot back into the instant pot base, close and lock the lid, place the valve in sealing position, press the yogurt button until you see “8:00” (8 hours) on the screen. The pot will start and you can forget about the yogurt for the next 8 hours. The pot will beep again and read “yogurt” to let you know that the yogurt is done. Open it up, give it a good whisk and store in the fridge in an airtight container for 10-14 days (if it lasts that long! Mine gets devoured in about a week). My favorite way to enjoy it: 1/2 cup homemade yogurt 1 tsp flax oil 1 tsp honey 1-2 tbsp fresh orange or lemon juice 2 tbsp post shredded wheat (that I blitzed up in the food processor) 1 Tbsp hazelnuts or walnuts (also blitzed up in the food processor) A handful of your favorite berries To see the video of how I make this, click here → https://youtu.be/7BqD78SD24M Gillian Schultz, MHSc, RDN, CD
0 Comments
Leave a Reply. |
SD BlogA place for our consultant Registered Dietitian Nutritionists (RDNs) to share nutrition science, yummy and healthy recipes, tips on seasonal ingredients, and other nutritional musings. Enjoy! Categories
All
Archives
May 2024
|


 RSS Feed