SOUND DIETITIANS LLC
  • HOME
  • About
    • Philosophy
    • Our Team
    • Locations
    • Telehealth
  • Work With Us
    • Nutrition Counseling
    • Diabetes Education
    • Clinics & Businesses
    • Dietitians & Interns
    • Contact
  • Blog
  • Giving & Receiving

Got Rhubarb?

6/5/2020

0 Comments


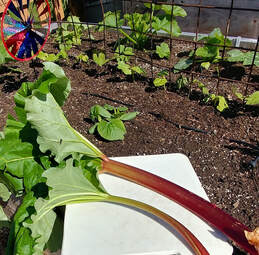
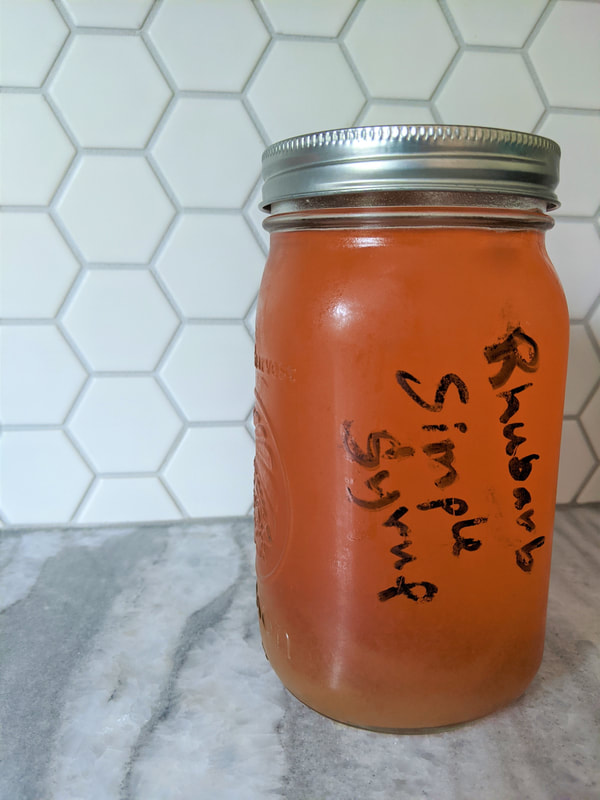
Got Rhubarb? Simple solutions for an abundance of this perennial.  

Picture

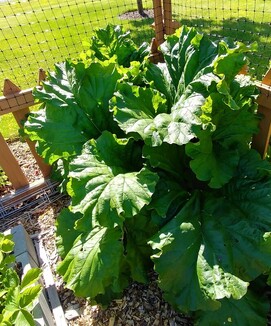
​Do you have a rhubarb plant in your garden or know someone who does? This perennial plant is a giver. It is not fussy, requiring very little attention, to the point that sometimes we forget about it.... Until the Spring, when it turns into something from the Jurassic Era and takes over that forgotten-about corner in your yard. 

The abundance that one plant provides is staggering and you may find yourself pawning off stems to neighbors, family, friends, priests, and passersby.  Sharing is good... But remember to keep some for yourself using the strategies listed below.  

First, let's talk about the botanical and nutritional nature of this amazing plant.  Rhubarb (Rheum rhabarbarum) is a vegetable, but we often use it like a fruit. The plant is perennial, meaning that it will regrow year-after-year from the rhizomes and roots that are left in the ground. If your plant is becoming too big for your space, you can divide the crowns to share with others. You want to harvest the rhubarb stalks through the Spring and Summer when they are about a foot long.  You can cut the stalks off at the base or apply a twisting motion at the bottom of the stalk to remove from the plant (the preferred method).   
Picture
Always remove the leaves....they are toxic if ingested! 

Nutritionally, the stalks are mostly water and fiber with a good amount of potassium, vitamin C and vitamin A. There is also quite a bit of calcium in rhubarb (~100mg/cup), however, this is bound with oxalate and not easily absorbed when ingested. This calcium is actually helpful to us, as the binding to the oxalate in the rhubarb plant helps to lower risk of kidney stones (the most common form being calcium-oxalate). By binding in the plant itself, the absorption of oxalate via our gut decreases. This works with food pairings as well -  think goat cheese (calcium) on your spinach salad (oxalate). The binding within the food or within our gut prevents the oxalate from being absorbed and traveling to our kidneys where it could then bind with calcium and form little crystals of pain and terror. Still, even with this calcium content, rhubarb is considered a high oxalate food with amounts similar to dark leafy greens.... So you will want to put some ice cream on your rhubarb pie for even more calcium. ​:) 
Picture
Picture
Desserts, jams, and syrups with plenty of added sugar are the most common ways to use the naturally tangy-tart stalks. On it's own, rhubarb has an astringent quality that can leave the mouth feeling dry and the sour-tanginess is pucker-worthy. These attributes are why it is such a great foil to sweet desserts and other sweetened marinades and sauces, such as BBQ.  ​

You will notice that different rhubarb plants may have different external stalk colors. This is most dependent upon the variety of rhubarb, with stalks ranging from green, to pink, to red, and even speckled.  Contrary to popular belief, the stalk color is not found to affect the tartness.   

Freezing is a fantastic option, as this vegetable holds up well being frozen and is a lovely pairing in deep winter with other fruits for a hearty cobbler or crumble.  Use a sheet pan to individually freeze the chopped pieces, allowing plenty of room, so that they do not stick together. 
Picture
Once frozen, then you can transfer into a long-term storage container, such as a freezer-weight plastic bag or container. This way you can use exactly the amount you want in the future without needing to thaw the whole container. This method works well for other fruits, such as berries. 

​I would recommend freezing some specific quantities that are usable for recipes. Ideally, you would label your containers with what, when and how much. For example: rhubarb from mom, June 2020, 4 cups. 

Another fun use for extra stalks is to make a rhubarb simple syrup or a rhubarb shrub for Summer cocktails and mocktails. 
Picture

Cheers to an abundance of fresh produce this Summer!
Remember to share as well as save some for yourself. 

~Megan
Picture
If in doubt about how to start using your rhubarb, proceed immediately to making a crisp. There is nothing quite as simple and delicious as a Summer crisp with fresh fruit.  

Here is an easy recipe to get you started: 

4 cups fresh or frozen diced rhubarb 
1/2 cup sugar
2 tablespoons chia seeds
Crisp Topping: 

1/2 cup brown sugar
1/2 cup whole wheat pastry flour
1 cup old-fashioned oats
1/2 cup butter (1 stick), melted
1 teaspoon ground cinnamon

Directions: 
  • Heat oven to 375 degrees.
  • Grease bottom and sides of square 8 x 8 inch pan.
  • Pour in diced rhubarb and sprinkle with 1/2 cup sugar and chia seeds.
  • Mix remaining ingredients together in a bowl and sprinkle over rhubarb.
  • Bake for about 30 minutes or until the topping is golden.
  • Serve with vanilla ice cream. Enjoy! 
0 Comments

Homemade Yogurt

6/2/2020

0 Comments

 
Earlier this year, Sound Dietitians presented a series of Instant Pot / Slow cooker classes. I’m going to be honest, before planning these classes I only used my instant pot for a few things: Bone Broth/Stock, Meats, Stews, and occasionally rice. In planning for these classes, I dug into every possible way to use this multi-talented kitchen device. I was most curious about the elusive “yogurt” button. After lots of internet research and a couple of trial runs, the yogurt function is now my favorite feature! Below I have outlined exactly what you need to do, step-by-step, to make your own yogurt in an instant pot.
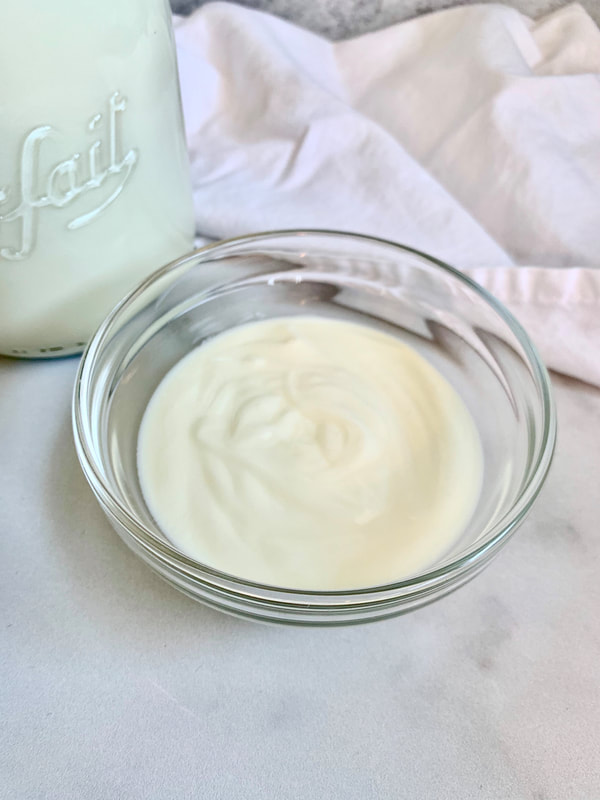
Picture
To make homemade yogurt:

​STEP 1:
*Sanitize your pot*
I’ve tried a couple of ways and the best way is to fill your inner pot (the lining that is a stainless steel pot) with water and put it directly on the stove like you would any other pot. Bring the water to a boil and then allow to boil for 10 minutes. Once the time is up, dump the water out, dry, place back into the instant pot base, and you are ready to start!

STEP 2:
Pour 1/2 gallon of whole milk into your instant pot. (Note* make sure your milk is homogenized. The first couple times I made it without homogenized milk and although it still tasted good, it wasn’t the classically creamy look that you expect from yogurt.) 

Lock the lid on and turn the valve to sealing. Typically the sealing feature is for when you are pressure cooking but I do it anyway, it won’t affect your end product either way. 

Press the yogurt button a couple of times until the screen of your instant pot reads BOIL. The pot will automatically get to work and you can go about your routine. Perhaps throw in a load of laundry or empty the dishwasher. The pot will beep many times to signal that the milk is to temperature. Take a thermometer and make sure the milk is at 180 degrees F.

STEP 3:
For the next step you can either let the pot cool on the counter or if you’re impatient (like me), fill a large bowl with ice water, and rest the inner pot in the ice to cool it down quickly. When the thermometer reads between 110 and 115, you are ready for the next step. 

STEP 4:
Remove the film that has accumulated on the top of the yogurt. Whisk in 2 Tbsp plain whole milk yogurt with live active cultures. Make sure the cultures have been added after the pasteurization process otherwise the heat from the pasteurization will have killed all those beneficial bacteria. And without those live active cultures, your yogurt won’t be a success. It’s also of the utmost importance that there is no sweetener added to this yogurt. Any added sugar, syrup, sweetener, flavor, or fruit will inhibit your yogurt success as well.

STEP 5:
Once your yogurt is fully incorporated into your warm milk, add the inner pot back into the instant pot base, close and lock the lid, place the valve in sealing position, press the yogurt button until you see “8:00” (8 hours) on the screen. The pot will start and you can forget about the yogurt for the next 8 hours. 

The pot will beep again and read “yogurt” to let you know that the yogurt is done. Open it up, give it a good whisk and store in the fridge in an airtight container for 10-14 days (if it lasts that long! Mine gets devoured in about a week).
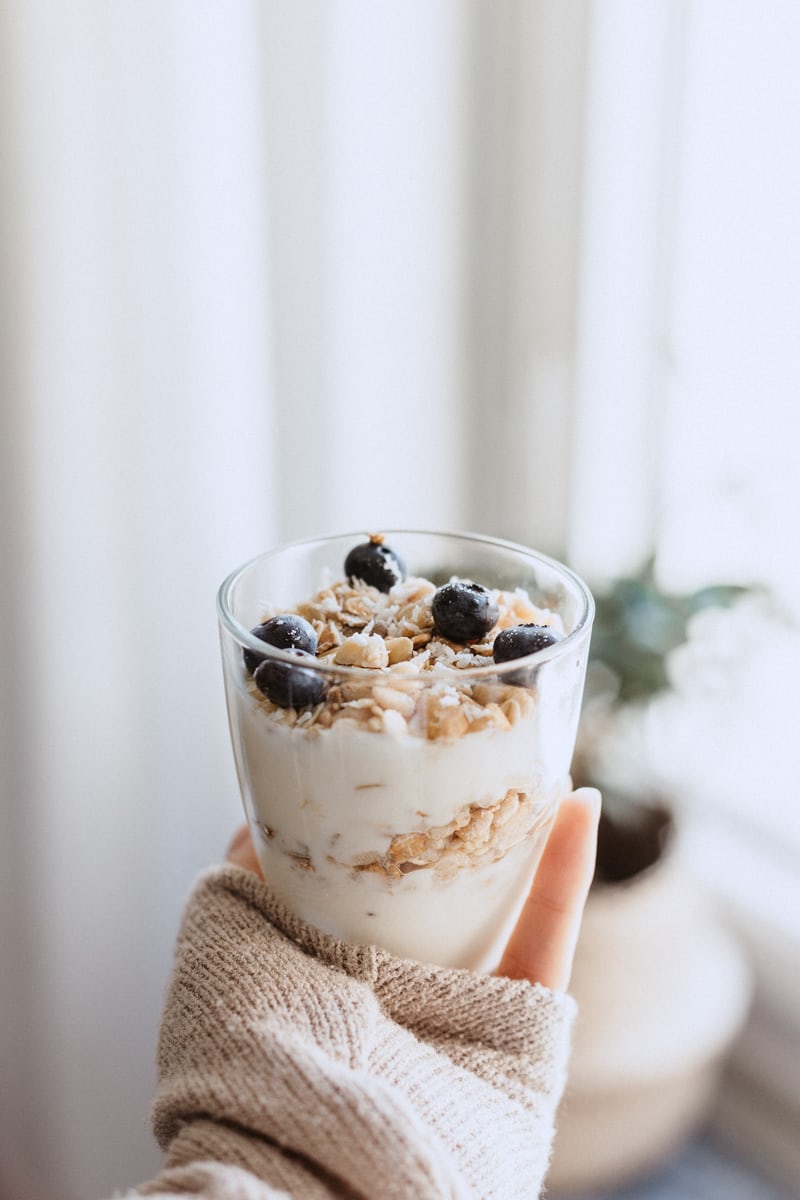
Picture
My favorite way to enjoy it:
​1/2 cup homemade yogurt
1 tsp flax oil
1 tsp honey
1-2 tbsp fresh orange or lemon juice
2 tbsp post shredded wheat (that I blitzed up in the food processor)
1 Tbsp hazelnuts or walnuts (also blitzed up in the food processor)
A handful of your favorite berries
​

To see the video of how I make this, click here →  https://youtu.be/7BqD78SD24M 
Gillian Schultz, MHSc, RDN, CD
0 Comments
    Picture

    SD Blog 

    A place for our consultant Registered Dietitian Nutritionists (RDNs) to share nutrition science, yummy and healthy recipes, tips on seasonal ingredients, and other nutritional musings. Enjoy!  

    ​Megan Ellison,
    ​MS, RDN, CSOWM, CDE Founder

    Categories

    All
    Diabetes
    Dinners
    Farmers' Market
    Food Preparation
    Food Preservation
    Grocery Shopping TIps
    Gut Health
    Hydration
    Lunches
    Proteins
    Seasonal
    Snacks
    Sweets
    Veggie Sides
    Wellness
    Whole Grains

    Archives

    December 2022
    October 2022
    June 2022
    May 2022
    April 2022
    March 2022
    February 2022
    January 2022
    December 2021
    November 2021
    September 2021
    May 2021
    March 2021
    February 2021
    January 2021
    November 2020
    October 2020
    June 2020
    April 2020
    March 2020
    February 2020
    January 2020
    November 2019
    October 2019
    August 2019
    July 2019
    June 2019
    May 2019
    April 2019
    March 2019
    February 2019
    January 2019
    December 2018
    November 2018
    October 2018
    September 2018
    August 2018
    July 2018
    May 2018
    March 2018
    February 2018
    January 2018
    November 2017
    September 2017
    August 2017
    July 2017
    June 2017
    May 2017
    April 2017
    March 2017
    January 2017
    December 2016
    November 2016
    October 2016
    September 2016
    August 2016
    July 2016
    June 2016
    May 2016
    April 2016
    February 2016
    January 2016
    November 2015
    October 2015

    RSS Feed

Providing Expert Nutrition Services to the Greater Puget Sound Region. 
Newsletter
  • HOME
  • About
    • Philosophy
    • Our Team
    • Locations
    • Telehealth
  • Work With Us
    • Nutrition Counseling
    • Diabetes Education
    • Clinics & Businesses
    • Dietitians & Interns
    • Contact
  • Blog
  • Giving & Receiving