|
Fall is here and with it we are feeling cooler temperatures and are seeing leaves changing color. School is back in session and with that, an increase in after-school activities. Sometimes multiple sports with multiple kids in multiple places. Making family meals seem challenging. Unfortunately, the ever present feeling of being strapped for time can cause families to make unhealthy choices, typically found at the drive-through window. Providing healthy food for your family is a priority for most, however challenging to find on the road. Whether you are feeding everyone in a fury before dashing off to practice or eating in the car on the way to multiple destinations, here are a few ideas to make meals on the move simple and healthy! Quick meals before hitting the roadA little planning ahead makes feeding the troops before heading out simple. Although having options that everyone agrees on can be a challenge. Keeping the ingredient list short and options limited might make dining before you dash a much better deal.
Portable meals - let's wrap this upI am a firm believer that you can put almost anything in a tortilla to make a meal portable - perhaps soup is the exception. This still leaves many other foods you can wrap up and go! For example, chicken caesar salad or any other salad for that matter. Lightly dress the lettuce in a bowl, place in the center of a tortilla, then add chicken or any other vegetable you fancy. Fold up the ends, roll it up, and wrap in a paper towel and perhaps a small piece of foil on the end and off you go! This wrapping method can be used for breakfast too. Who doesn’t love a breakfast burrito?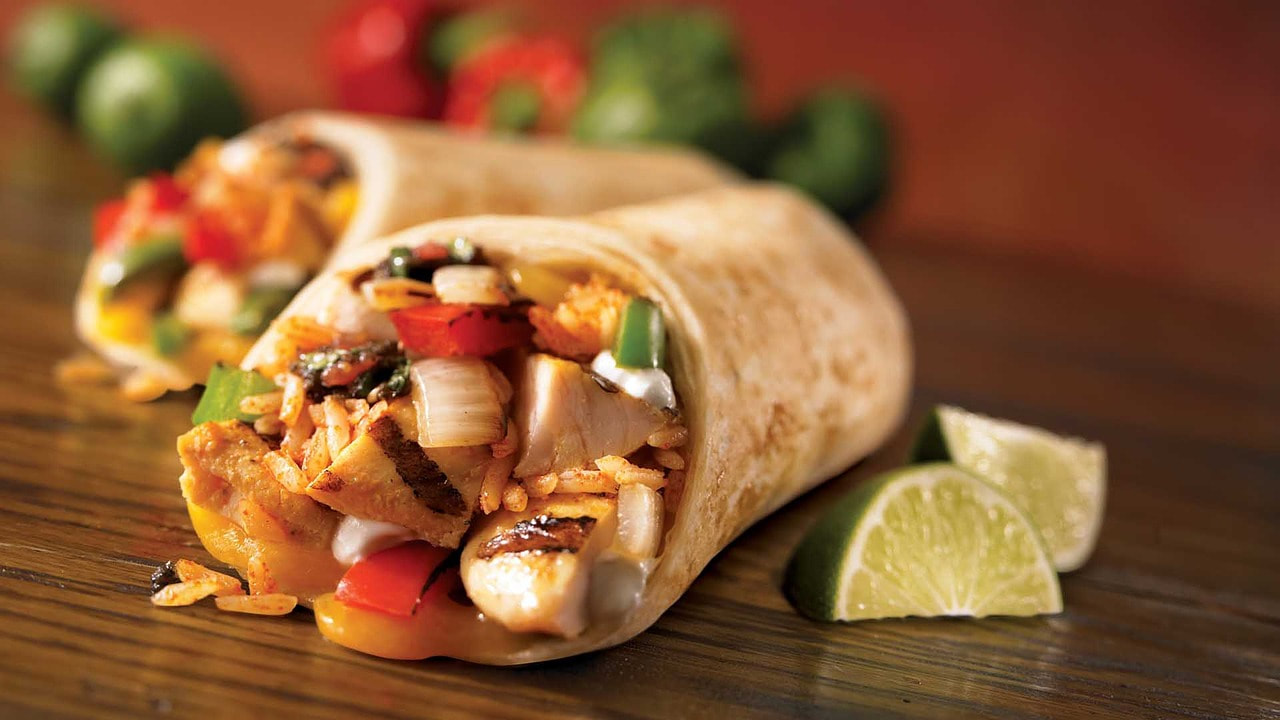 Slow and low - A perfect cooking tempoUsing a slow cooker is a sure fire way to ensure whatever you are preparing will be tender and juicy. One pot meals are also fantastic! Clean up in minimal and the flavors are married perfectly together. Here are a few recipes that include a slow cooking and one pot, courtesy of www.skinnytaste.com. They are simple, delicious and every recipe from this site includes nutrition information. Which is super helpful if you are trying to be a mindful eater. One-Pot Spaghetti and Meat Sauce (Stove-Top Recipe)
Directions:
Nutrition per serving (scant 1 1/2 cups): 377 Calories; 10.5g Fat; 23.5g Protein; 43.5g Carbohydrates; 5g Fiber; 567mg Sodium Easiest Salsa Verde Chicken (Slow Cooker or Instant Pot)
Directions: Slow Cooker:
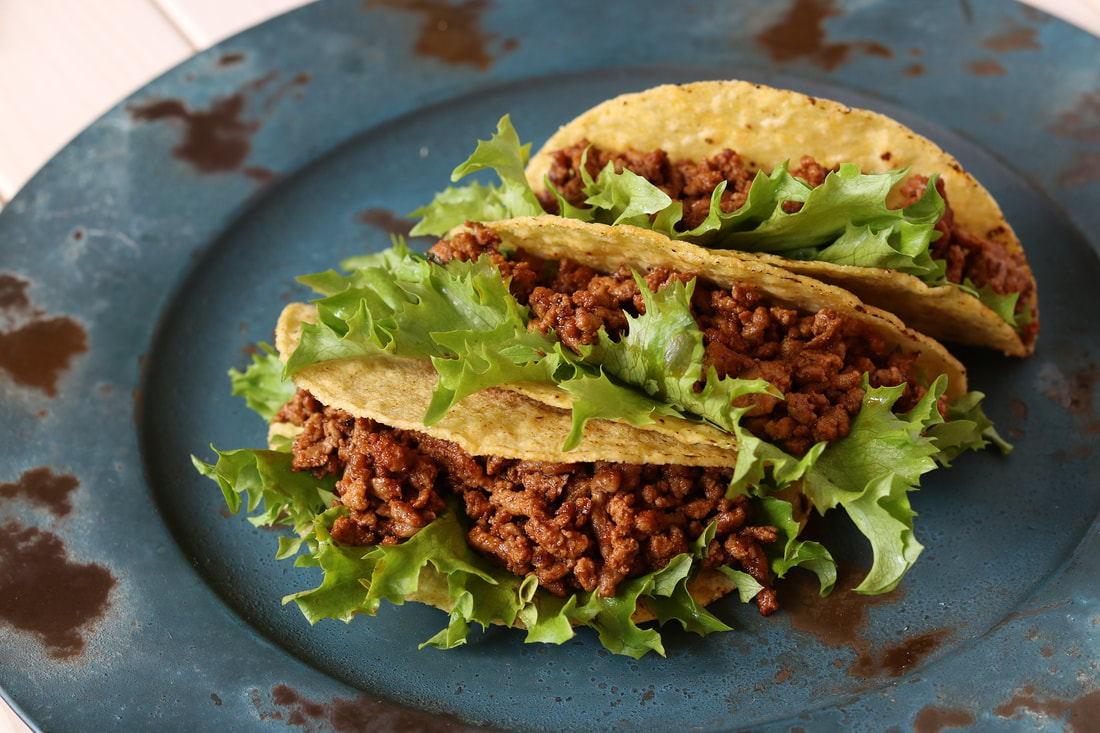
Nutrition per serving (1/2 cup): 145 Calories; 2g Fat; 26g Protein; 5g Carbohydrates; 0g Fiber; 415mg Sodium Beef Tacos (Slow Cooker or Instant Pot)
Directions: Slow Cooker:
Nutrition per serving (2 tacos): 382 Calories; 20g Fat; 31g Protein; 24g Carbohydrates; 8g Fiber; 744mg Sodium ~Olivia Mathisen-Holloman, RDN, CD
0 Comments
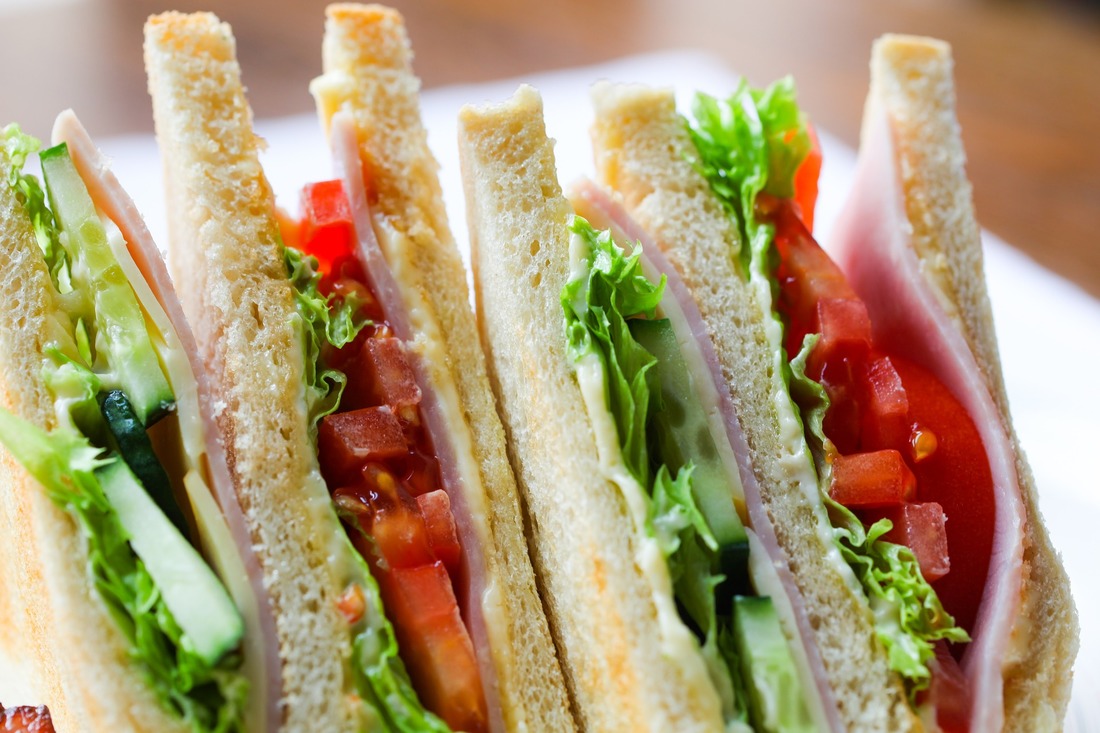
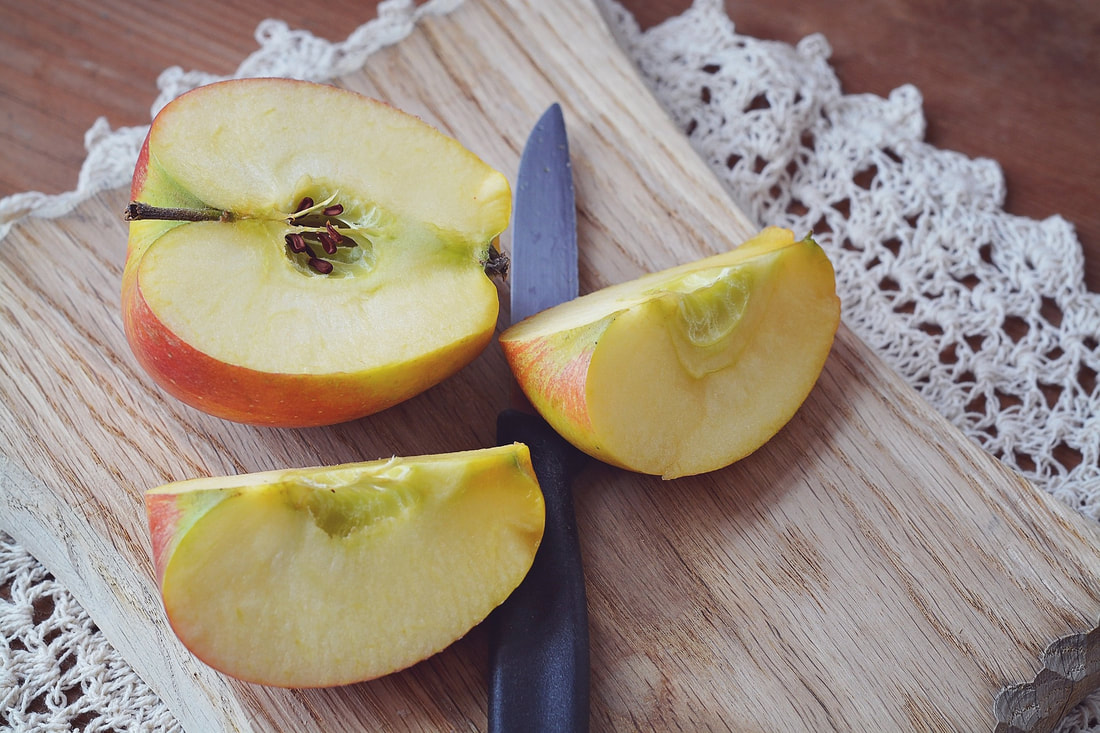
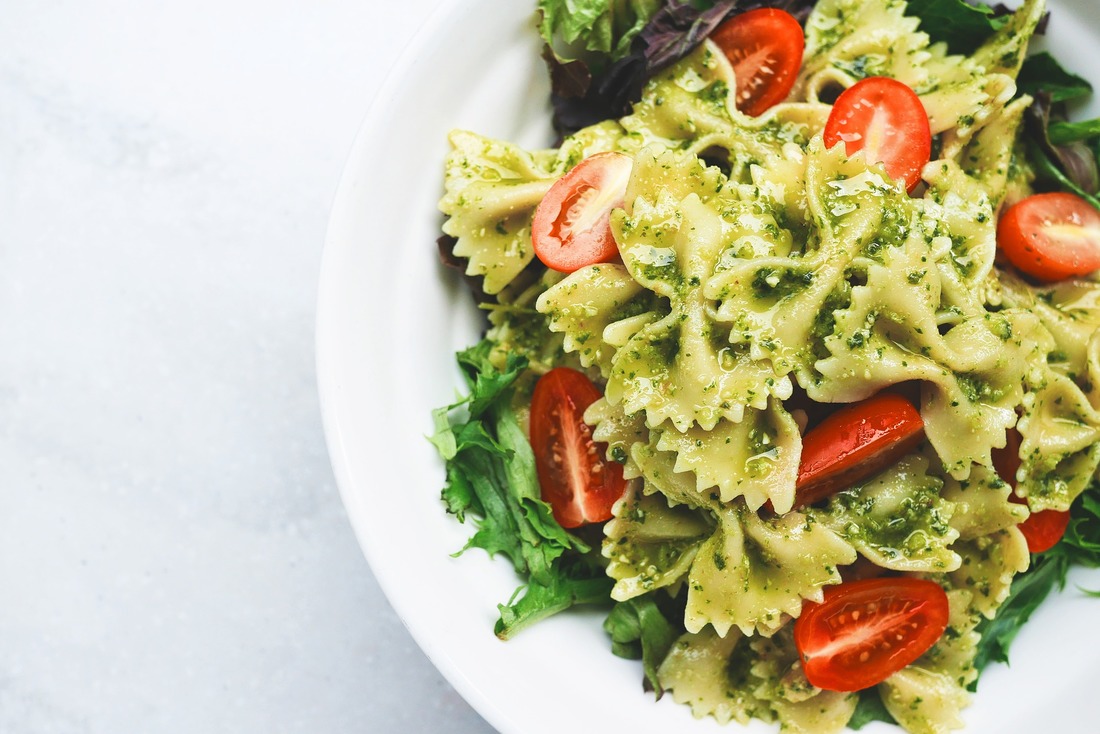
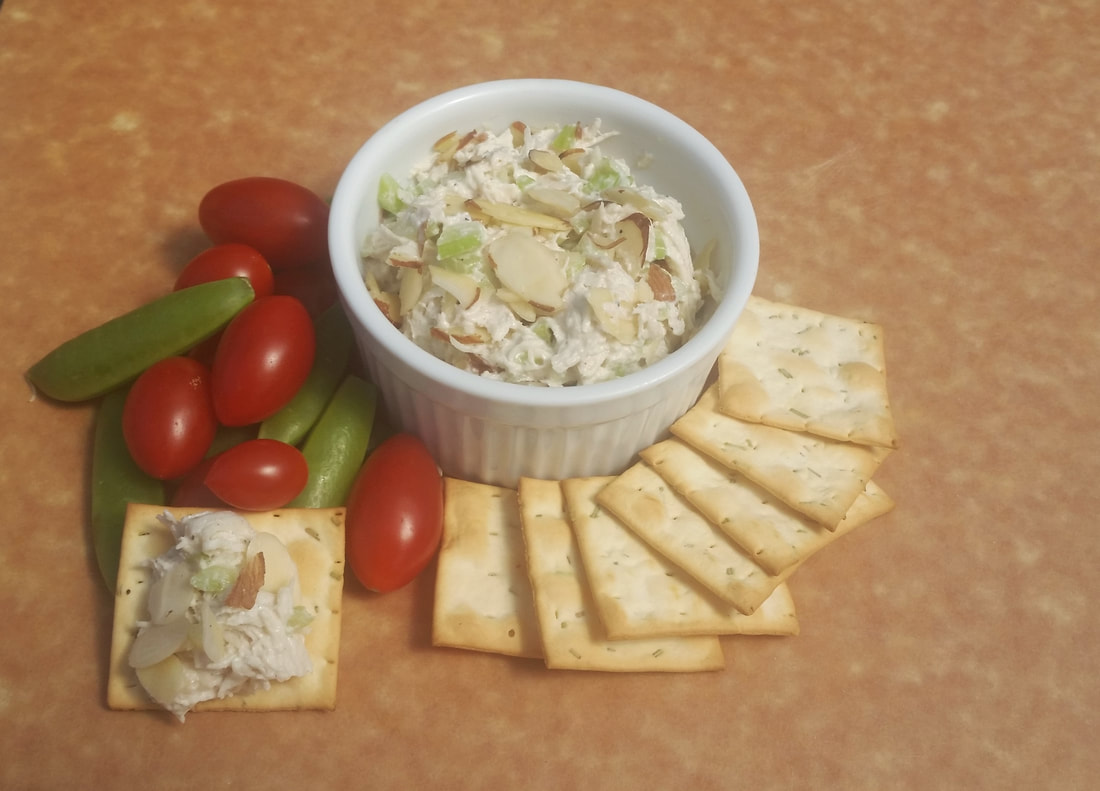
 It's that time of the year - school is here! If you’re a parent or caregiver, you may already feel overwhelmed just thinking about packing school lunches for your kiddos. Lunch planning and packing are actually great activities to involve your kids in. As the parent, your roles are to ensure nourishing food options are available to pack and to provide guidance/assistance to your child. Your child’s jobs are to communicate their food preferences, give feedback on how much food is satisfying for meals and snacks, and to assist or independently pack their own lunch, depending on their comfort or maturity level. This may be a work in progress, but with time, your child will learn how to pack healthful food to fuel them for a day of school. As you ease into passing along lunch packing duty, assess your child’s readiness level. Children in grades 1 to 3 may not be ready to pack independently, but they can certainly help with making decisions about what they’d like you to pack. This would also be a good time to brainstorm and plan together with this handy chart! Have discussions with your child about what should be included in a healthful lunch. Aim to always have “growing food” (protein and whole grains), fruit, and veggies on hand. By grade 4 to 6, your child may be ready to pack all or part of their lunch independently. Maybe they could assemble a wrap, sandwich, pasta salad, or leftovers, but they may need more assistance with slicing fresh fruits and veggies and packing food up properly to ensure food safety. And don’t forget to involve your child in grocery shopping so they can take pride in their selections for the week. Last month, the Sound Dietitians team had a blast talking about planning healthy lunches and doing some hands-on prep with kids and families at Verdant Community Wellness Center. This was an excellent way to conclude Kids Eat Right Month and prepare for the start of school. Here are some tasty recipes from our class! Chicken SaladLeftover chicken breast or rotisserie chicken can easily be chopped or shredded to be used in lunches and additional dinner meals. Toss shredded chicken on salad or pasta, season for tacos or quesadillas, or make a batch of this delicious chicken salad. It is perfect for school lunches or snacks and can be enjoyed as a sandwich, wrap, or with whole grain crackers. Just remember to pack it with some cold packs so it stays chilled until lunch time.
Directions:
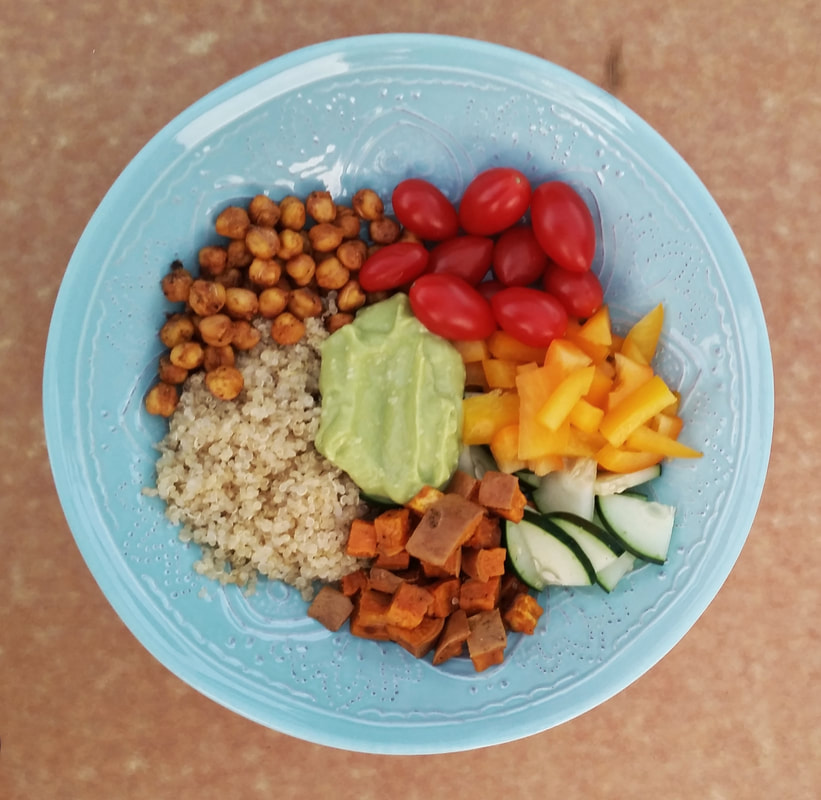
Nutrition per 1/2 cup serving (with almonds and grapes): 240 Calories; 12g Fat; 27g Protein; 7g Carbohydrates; 1.5g Fiber; 300mg Sodium Rainbow Power Bowl with Easy Red Wine VinaigretteThis bowl was a HUGE hit with our class! The kids loved shaking up their own dressing and choosing a variety of colorful veggies for their bowls. One kiddo commented “the cucumbers are so crunchy and refreshing!” After assembling, these grain bowls are too pretty to pass up. Makes 2 Cups Recipe adapted from: https://www.superhealthykids.com/rainbow-buddha-bowls-kids/
Red Wine Vinaigrette:
Directions: (Dressing)
Notes:
Nutrition per one example bowl (½ cup quinoa; 1/3 cup each cucumber/peppers/tomatoes, ¼ cup roasted sweet potato, 2 Tablespoons roasted chickpeas; 2 Tablespoons vinaigrette dressing): 355 Calories; 19.5g Fat; 7g Protein; 38g Carbohydrates; 6.7g Fiber; 210mg Sodium Chocolate Cherry Energy BallsThese energy balls are a great alternative to packaged, processed snacks because they are only lightly sweetened and also provide protein, fiber, vitamins and minerals. You can have fun mixing them up on the weekend and enjoy throughout the week. Makes 24 Energy Balls Recipe adapted from: https://www.smartnutrition.ca/recipes/mix-n-match-energy-ball-recipe/
Directions:
Notes:
Nutrition per energy ball: 55 Calories; 2.5g Fat; 1.5g Protein; 7g Carbohydrates; 1.2g Fiber Fun extra: Check out America's Test Kitchen's "Kid Friendly Recipe & Activity Testing" to encourage food, cooking, and STEAM (Science, Technology, Engineering, the Arts, and Mathematics)! Happy planning, prep, and packing ~ Wishing you all an excellent start to a new school year! ~Holly, RDN
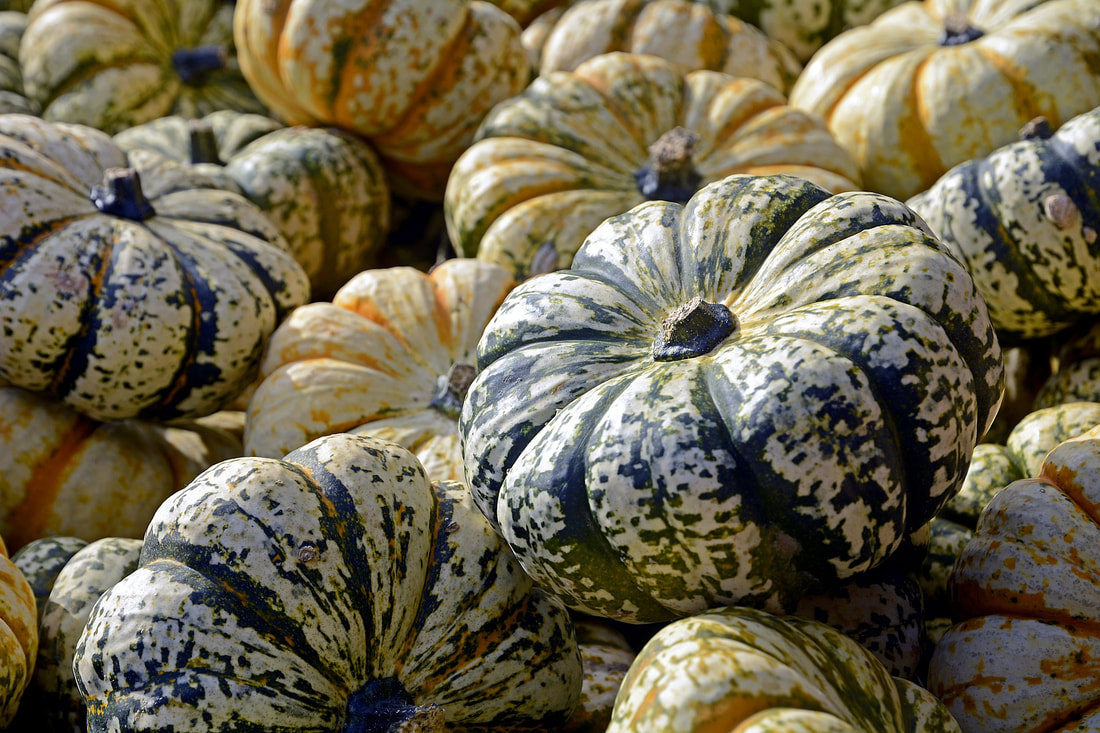
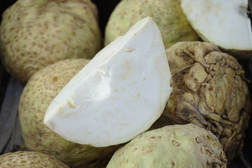
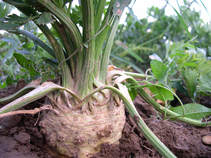
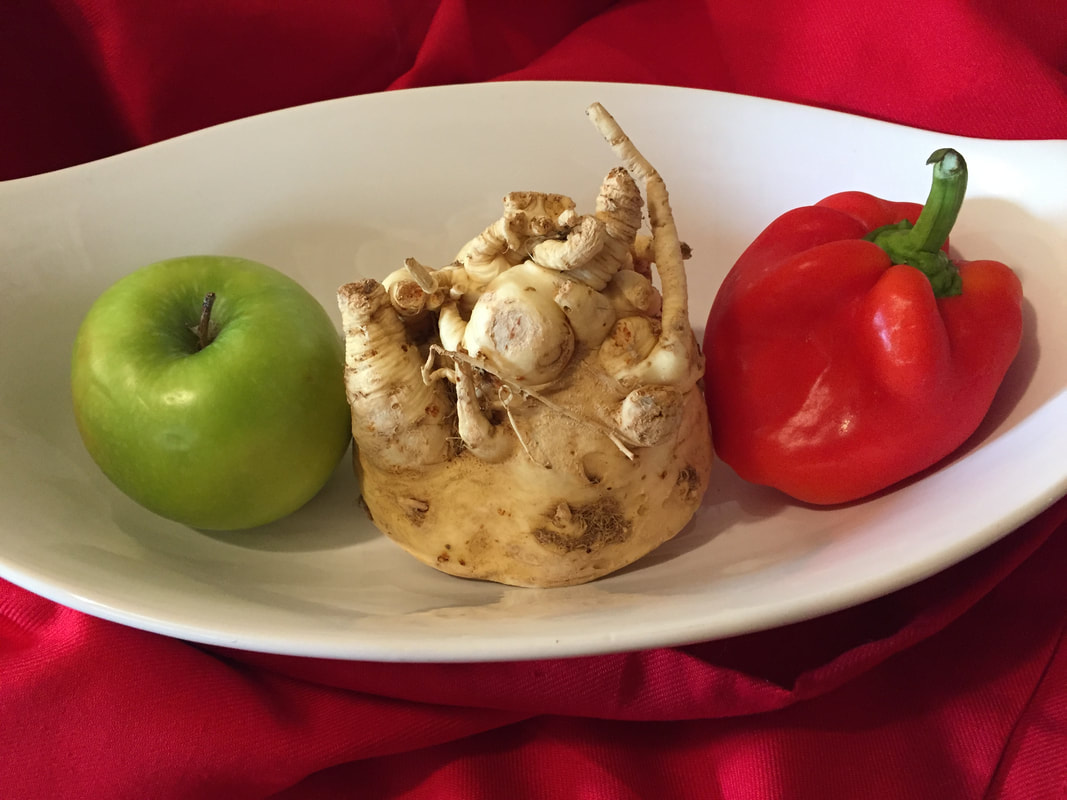
You can find this root vegetable in most grocery stores from September through May (and some have it year-round). It ranges in size from the size of a baseball to much larger. Look for smaller ones, which are less fibrous. The flavor is different from celery, though similar. The texture is also different from that of celery.
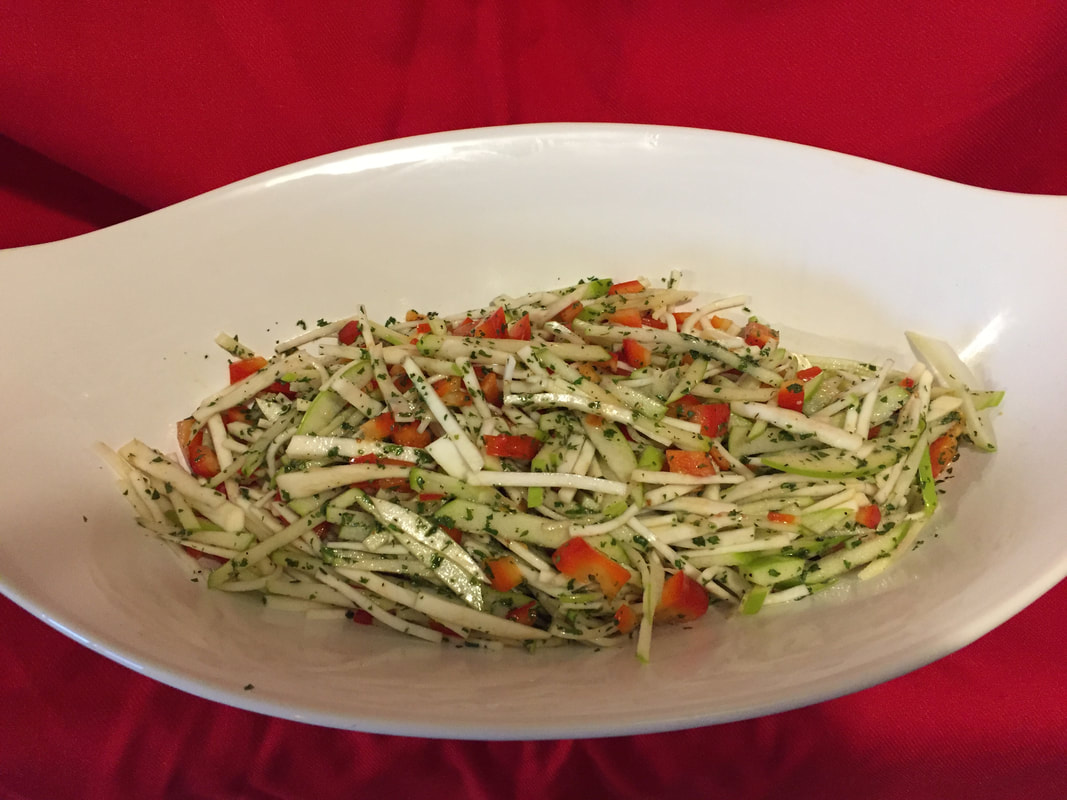
Adding celeriac to your vegetable rotation will add essential vitamins and minerals that you may be missing in your diet that are needed for the proper functioning of your body. Eating a wide variety of fruits and vegetables each day is crucial in order to get an assorted range of nutrients. A pill isn’t the same. Try the delicious celeriac recipes below to add a new vegetable to your meal planning! Note: You can usually ask an employee in the produce section to cut the celeriac in half, if needed, before buying it. And only take half, if you feel it is too large. Celeriac SlawMakes 4 Servings Recipe adapted from http://www.bbcgoodfood.com/recipes/5136/celeriac-coleslaw and the Joy of Cooking Ingredients:
Directions:
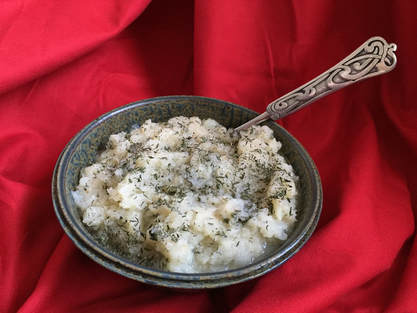
Celeriac and Pear PuréeMakes 4 (2/3 cup) Servings Recipe adapted from http://www.eatingwell.com/recipes/puree_of_celeriac_with_pears.html
Directions:
~Nancy Miller, MS, RDN Resources:
1. http://nutritiondata.self.com/facts/vegetables-and-vegetable-products/2394/2 |

SD BlogA place for our consultant Registered Dietitian Nutritionists (RDNs) to share nutrition science, yummy and healthy recipes, tips on seasonal ingredients, and other nutritional musings. Enjoy! Categories
All
Archives
May 2024
|


 RSS Feed