|
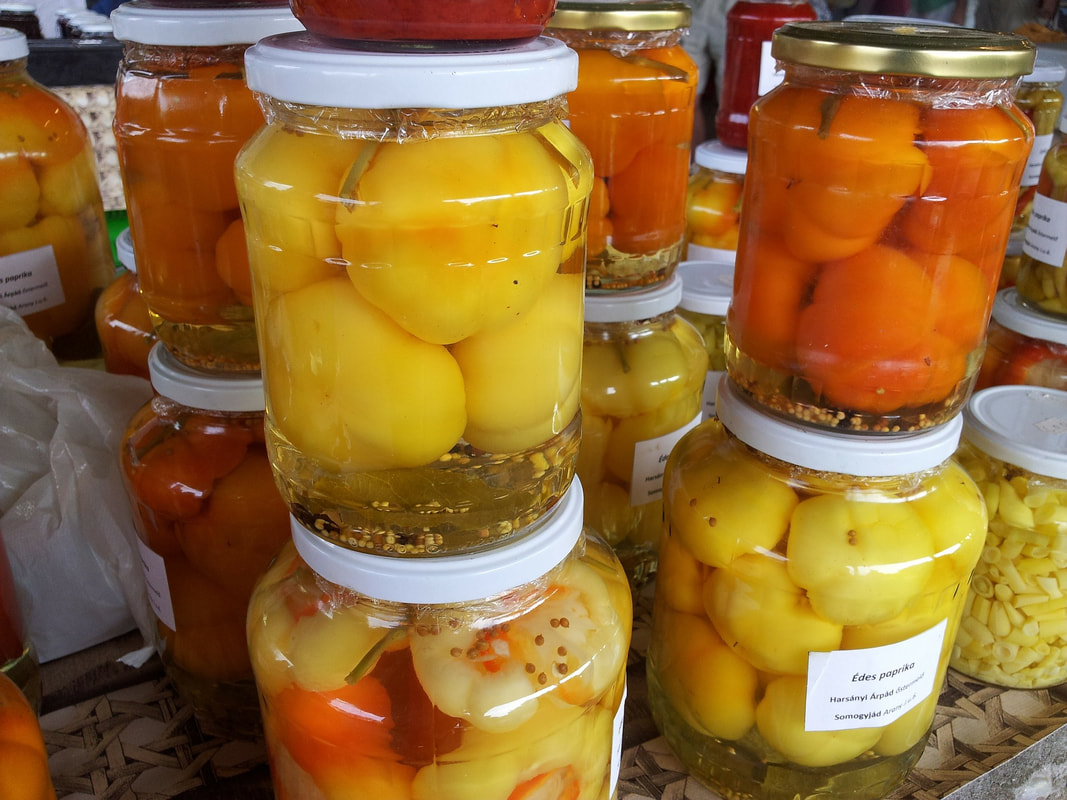
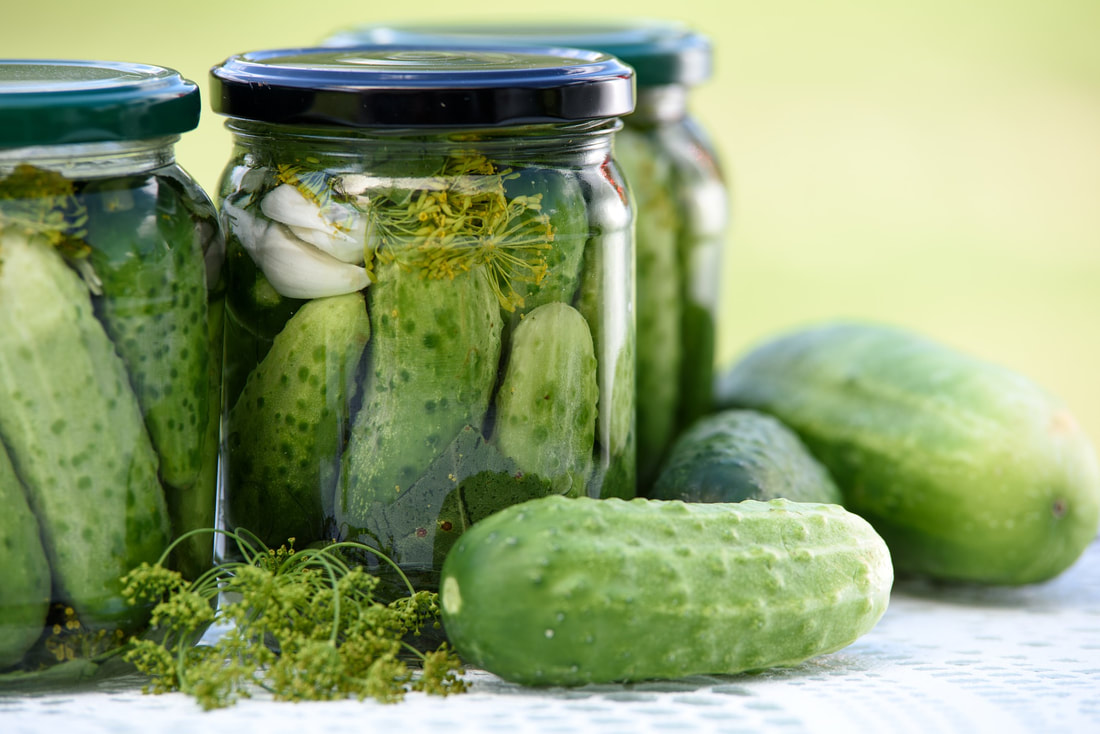
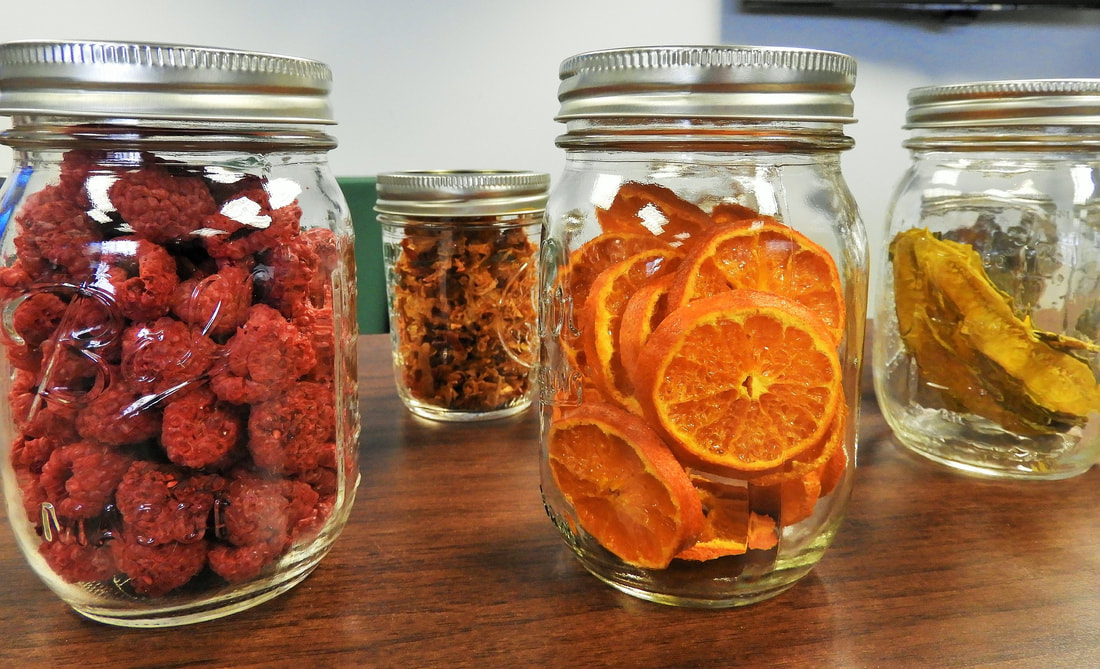
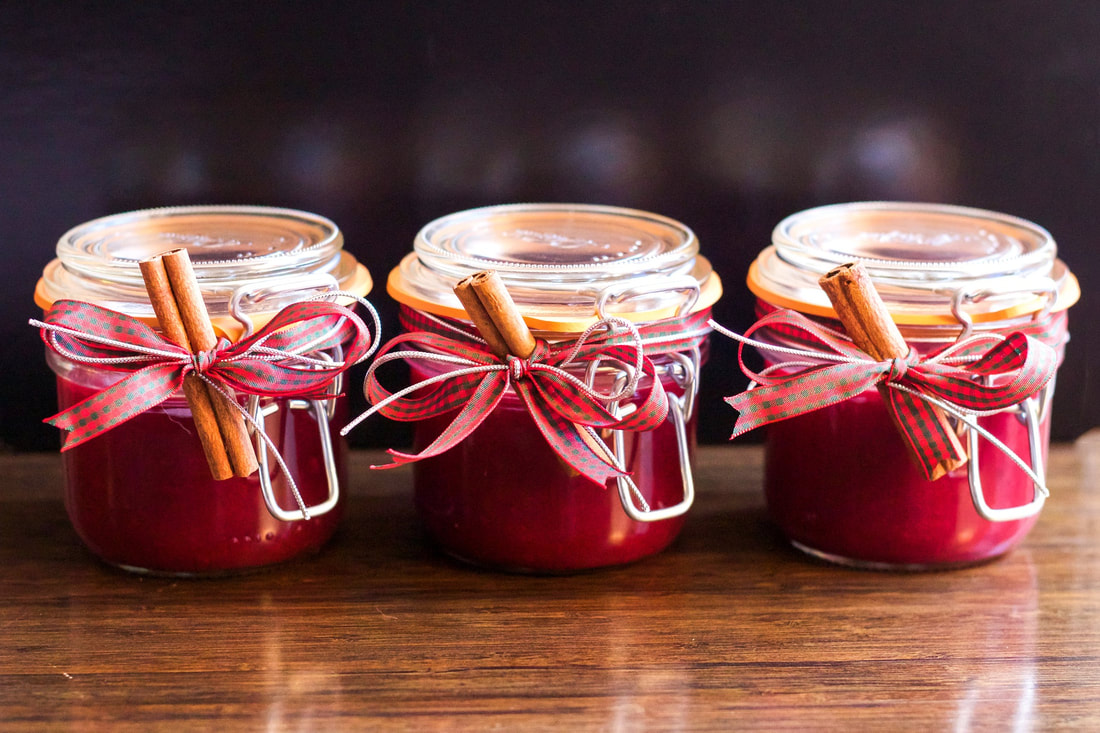
Fall is here! What comes to mind with the turn of the season? What about big pots of soup, large batches of slow cooker recipes, seasonal produce, or even homemade jam and apple butter? Wouldn’t it be great if some of our fall favorites could last year-round? With the usage of proper food preservation techniques, they totally can! Canning is a commonly used preservation technique, especially in Autumn and during the holiday season. Done correctly using the water bath technique, canning seals the food away from microorganisms that cause it to spoil. This greatly prolongs the shelf life. In fact, canned goods can be stored at room temperature for a minimum of 12-18 months. As long as the seal is still intact, canned goods may survive on your shelves for years! Canning is not limited to just jams and jellies – homemade pickles, compotes, seasonal fruit in syrup, salsa, sauces, and more are also easily canned. Not to mention, canned goods make great homemade gifts for the holidays! At our food preservation class at Verdant on Monday, October 15th, we went with a common canned good – homemade jam. Our jam was very seasonal, containing fresh pears, figs, orange juice and zest, and cinnamon. Smells and tastes like the holidays! Autumn Jam
Directions:
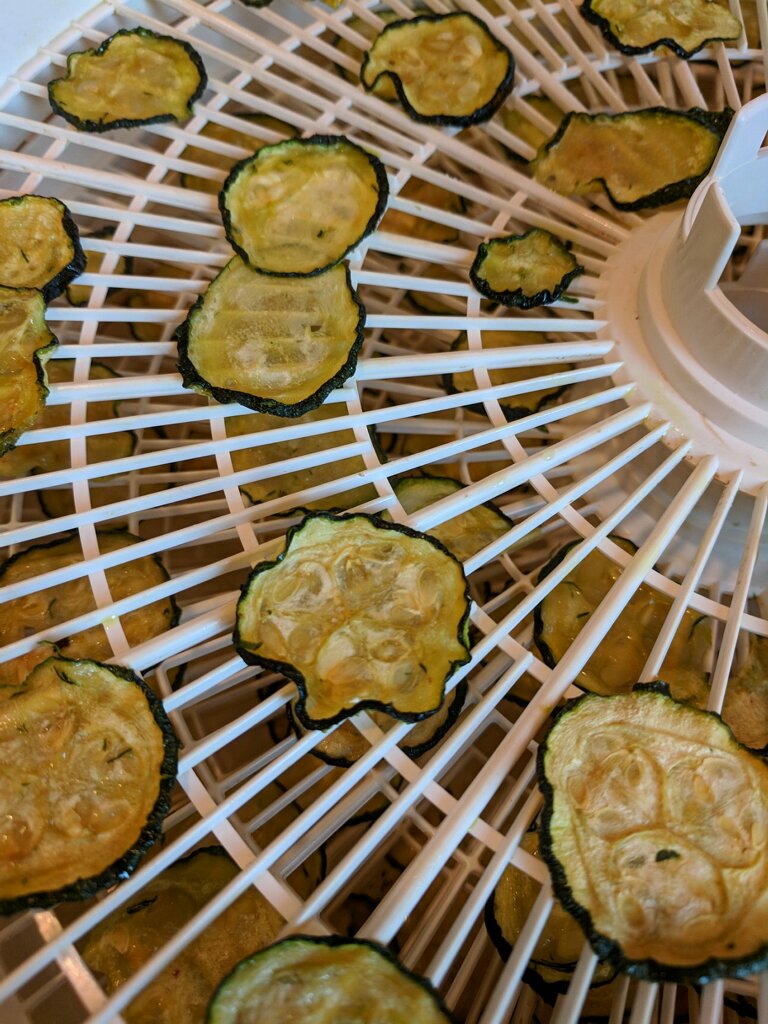
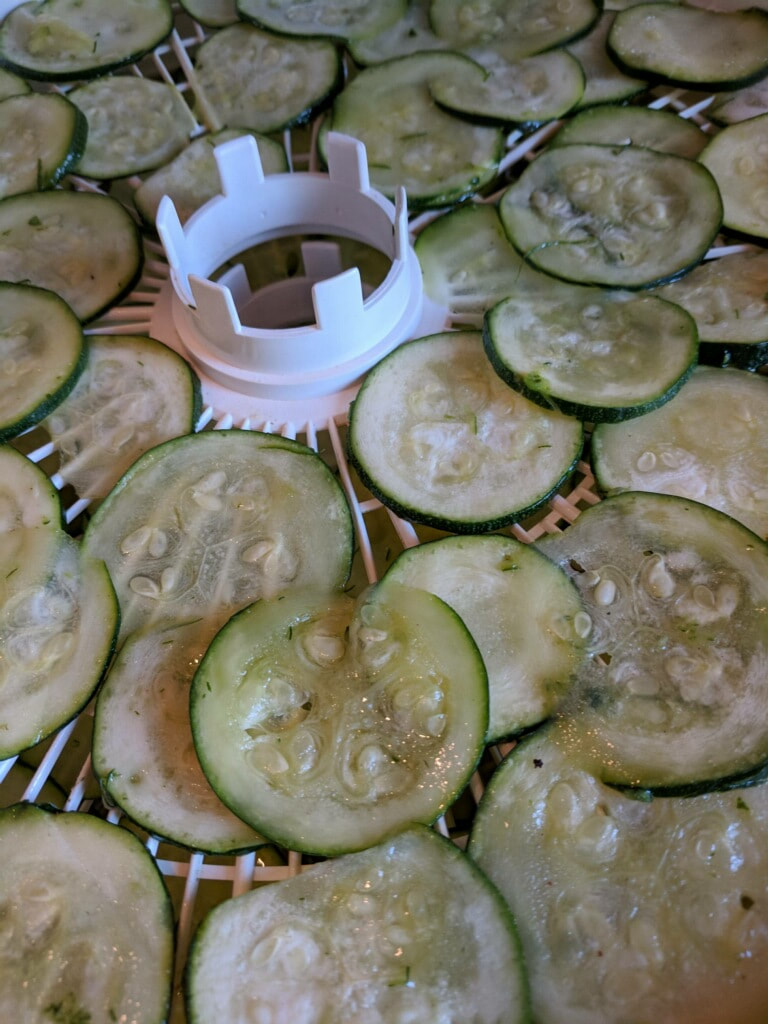
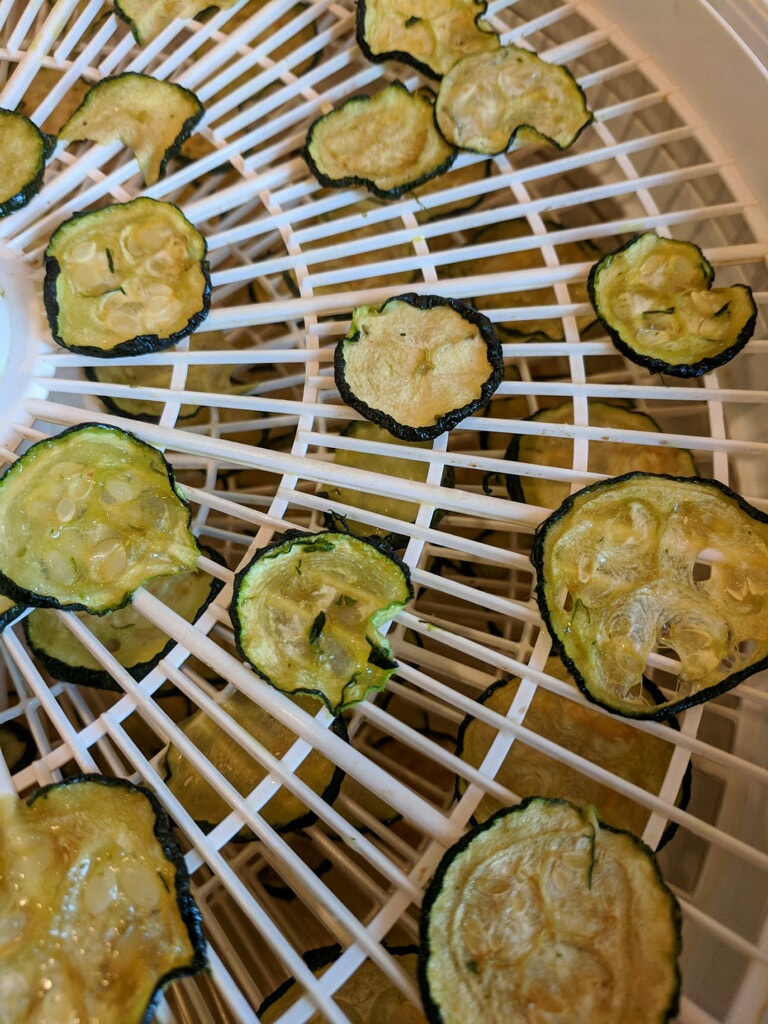
Nutrition per 2 Tablespoons (1 ounce): 72 Calories; <1g Fat; <1g Protein; 19g Carbohydrates; 1g Fiber; <1mg Sodium Dehydrating is a less common food preservation technique, although it is a useful one. Did you know that dehydrated foods are shelf-stable for up to 5 years?! For best results, using a food dehydrator is ideal. However, using a normal oven at 200 degrees for a few hours will also get the job done. Dehydrators can be used to make dried pasta, dried herbs, snack foods out of fruits and veggies, beef jerky, you name it! The time it takes to dehydrate will vary depending on the food and thickness of pieces. Typically, foods with a higher water content will take longer than those with a lower water content. For the food preservation class, we chose to make dehydrated pears. We also chose a unique recipe to demonstrate – zucchini chips! Fall season also means football season, and what’s football season without salty snack food? Zucchini chips are a great swap for potato chips at your next tailgating event or viewing party. You can even make them salt and vinegar style! Zucchini ChipsMakes 8 servings Recipe adapted from www.SugarFreeMom.com Ingredients:
Dehydrator Directions:
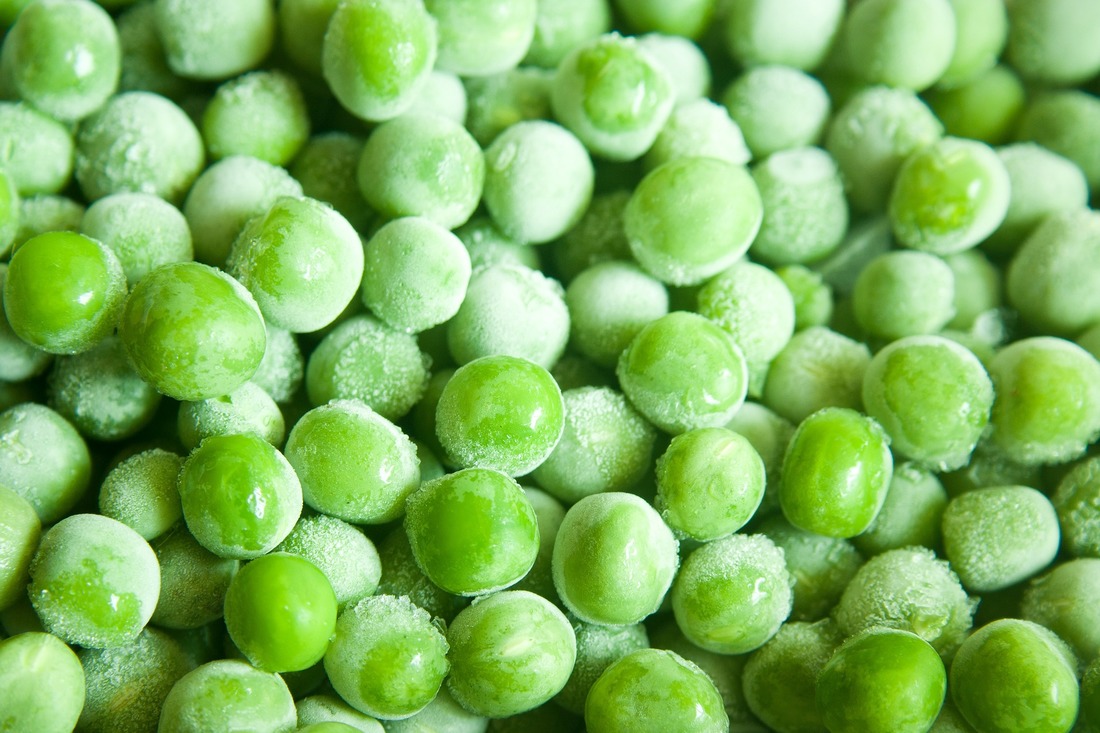
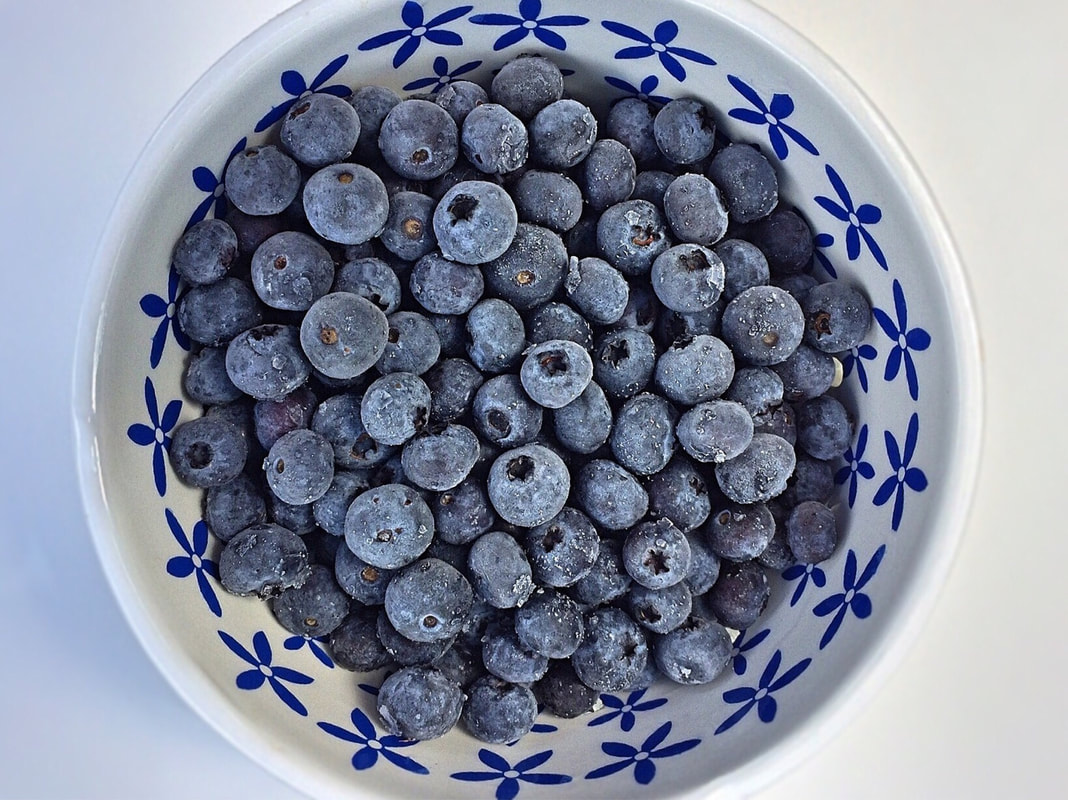
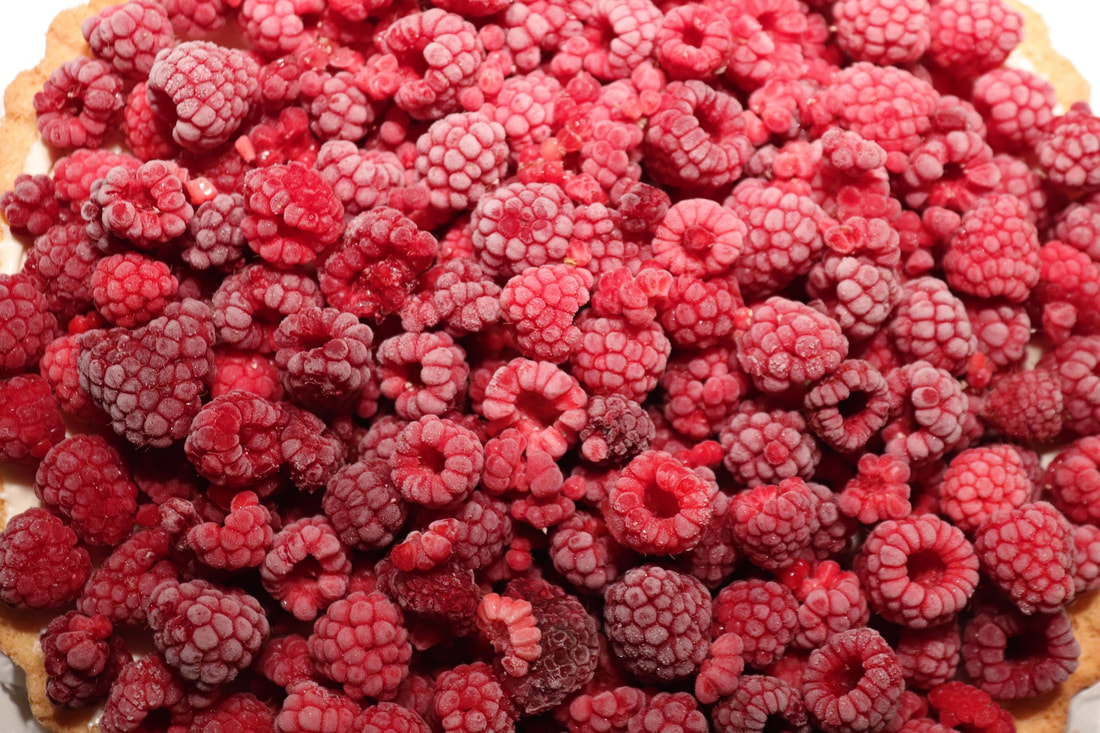
Nutrition per serving: 45 Calories; 4g Fat; 1g Protein; 3g Carbohydrates; 1g Fiber; 42mg Sodium Last but not least, freezing is another great (and perhaps, the simplest) strategy to prolong the storage of foods. When you prepare a dish and freeze it, that dish will last 2-3 months in the freezer. This is a great way to meal prep for the week, or even the month. It’s also a useful strategy to pre-portion foods and aid in managing your overall intake. You can freeze almost anything you’d like – pasta dishes, soups, meats, stir fry, and more! Try wrapping portions of whatever dish you made in foil and then place that in a ziplock freezer bag. Remember to label your bag with the date! Please note: there is a difference between a regular ziplock bag and a freezer bag. Freezer bags are thicker, sometimes have texture, and will prevent food from freezer burn. Whenever you’re ready to enjoy your dish again, just unwrap the foil, put the food on a plate, and microwave as if it were a frozen TV dinner (minus the preservatives and high sodium content). Already prepared dishes are not the only things that freeze beautifully. Fresh produce is another freezable option. In fact, freezing produce when ripe will prolong the life of the nutrients within the fruit or vegetable. Freezing produce is a great practice because it will last 8-12 months in the freezer, while produce only lasts 1-2 weeks in the fridge! Plus, what’s a better snack than frozen berries? Throw your frozen berries into a blender for your morning smoothie or toss some frozen veggies into a soup or stew. Talk about zero-effort cooking! Blanching produce before freezing is an great way to preserve the color and texture. To prevent pieces from sticking together, such as broccoli florets or diced fruits and veggies, try freezing them on a baking sheet first. Make sure the pieces are evenly dispersed and not stacked on each other. Once those are frozen, you can then place them into your foil packets, Tupperware, or ziplock freezer bags. The only produce items that may not freeze the best are your leafy greens and lettuce. Other than that, get creative with what items from the produce section you can freeze. Don’t forget to consider your favorite seasonal produce! ~Waverly, Dietetic Intern
0 Comments
Let’s face the facts: as much as we may love our kale, good things do not last forever. We have all faced the disheartening moment when your once-crisp spinach turns into a pile of bruised, unappetizing mush. Never fear, there are a few tips that you can use along the way to prolong the quality your leafy greens! Our last visit to the farmer’s market included sharing such tips, in addition to classifying different greens, and ideas for preparation. Families gathered ‘round to spin the “head of knowledge” and put themselves to the test. Have you used produce wash on your greens? Apparently such an act, despite us believing it’ll benefit us, is a big “no-no”. Are you on top of your salad game? Look below to find out! 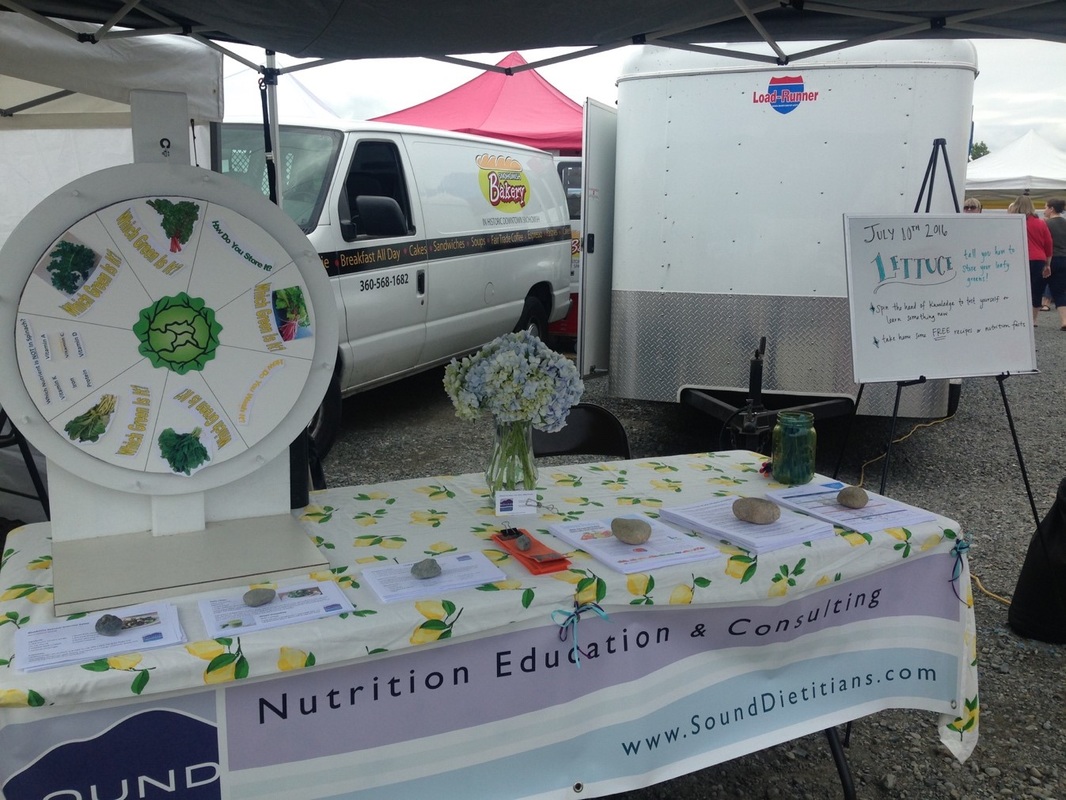 We love our spinner - can you tell? This week it is a "salad spinner"! Top Tips for Washing Leafy Greens from Eatright.org
Bruised greens? No problem. Both of the recipes below have enough flavor and texture to disguise most lettuce that crosses into the “not ideal for salads” zone. The kale chip recipe is not only packed with B vitamins, it provides a crave-worthy salty and crunchy alternative to the average bag of chips! And the green smoothie is so good, spinach is the last ingredient you- or your family members- will think of when you sip on it.
Preheat oven to 250 F. Wash, spin or pat kale dry. Remove the stem and cut or tear kale into bite site pieces. Toss kale in oil. Cover baking sheets with parchment paper. Spread kale leaves over the sheet and sprinkle seasoning of choice. Bake for 30 minutes. Kale chips should be crunchy and green. They burn easily, so be sure to check on them and adjust the time as needed. 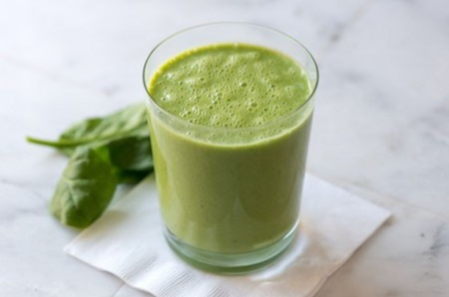 Green Smoothie YIELD: 2 servings 2 cups Spinach, 4 Strawberries, 1 cup orange juice, 1/2 cup plain Greek yogurt. Blend until smooth and enjoy!
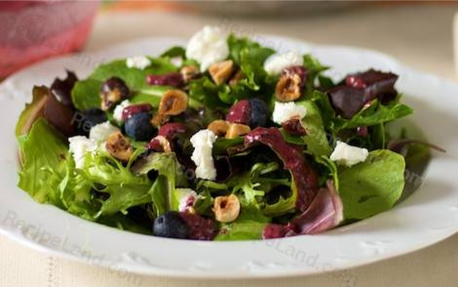
Combine vinegar, oil, mustard, and sugar in a jar with a tight-fitting lid; shake well. Toss spinach, blueberries, goat cheese, and hazelnuts in a large salad bowl. Drizzle with dressing and toss gently; serve immediately. If you’re lucky enough to frequent the Everett Farmer’s Market, take this recipe along with you! Almost all of the above ingredients can be found at the market right now. If your shopping loyalties lie elsewhere, not to worry. This salad is composed of in-season produce that can be found almost everywhere in the PNW. No hazelnuts? Almonds slices or pumpkin seeds will do the trick! Adding a hardboiled egg, chicken breast or salmon fillet would also revamp this salad from a snack to an evening meal. I hope salading down in the kitchen with your newly acquired lettuce facts will help you find your inner peas. :) Feel free to visit us for another beautiful day at the Everett Farmer’s Market, this Sunday, July 24th! ~ Olivia |

SD BlogA place for our consultant Registered Dietitian Nutritionists (RDNs) to share nutrition science, yummy and healthy recipes, tips on seasonal ingredients, and other nutritional musings. Enjoy! Categories
All
Archives
May 2024
|

 RSS Feed